DIY Reupholstery Tips

Ready to breathe new life into your old furniture? Our step-by-step guide will walk you through the basics of reupholstering, helping you transform worn-out pieces into stunning custom creations.
Getting Started
Before diving into your reupholstery project, gather these essential tools:
- Staple gun and staples
- Fabric scissors
- Pliers
- Screwdriver
- Measuring tape
- Upholstery fabric
- Foam or batting (if needed)
Step 1: Remove Old Fabric
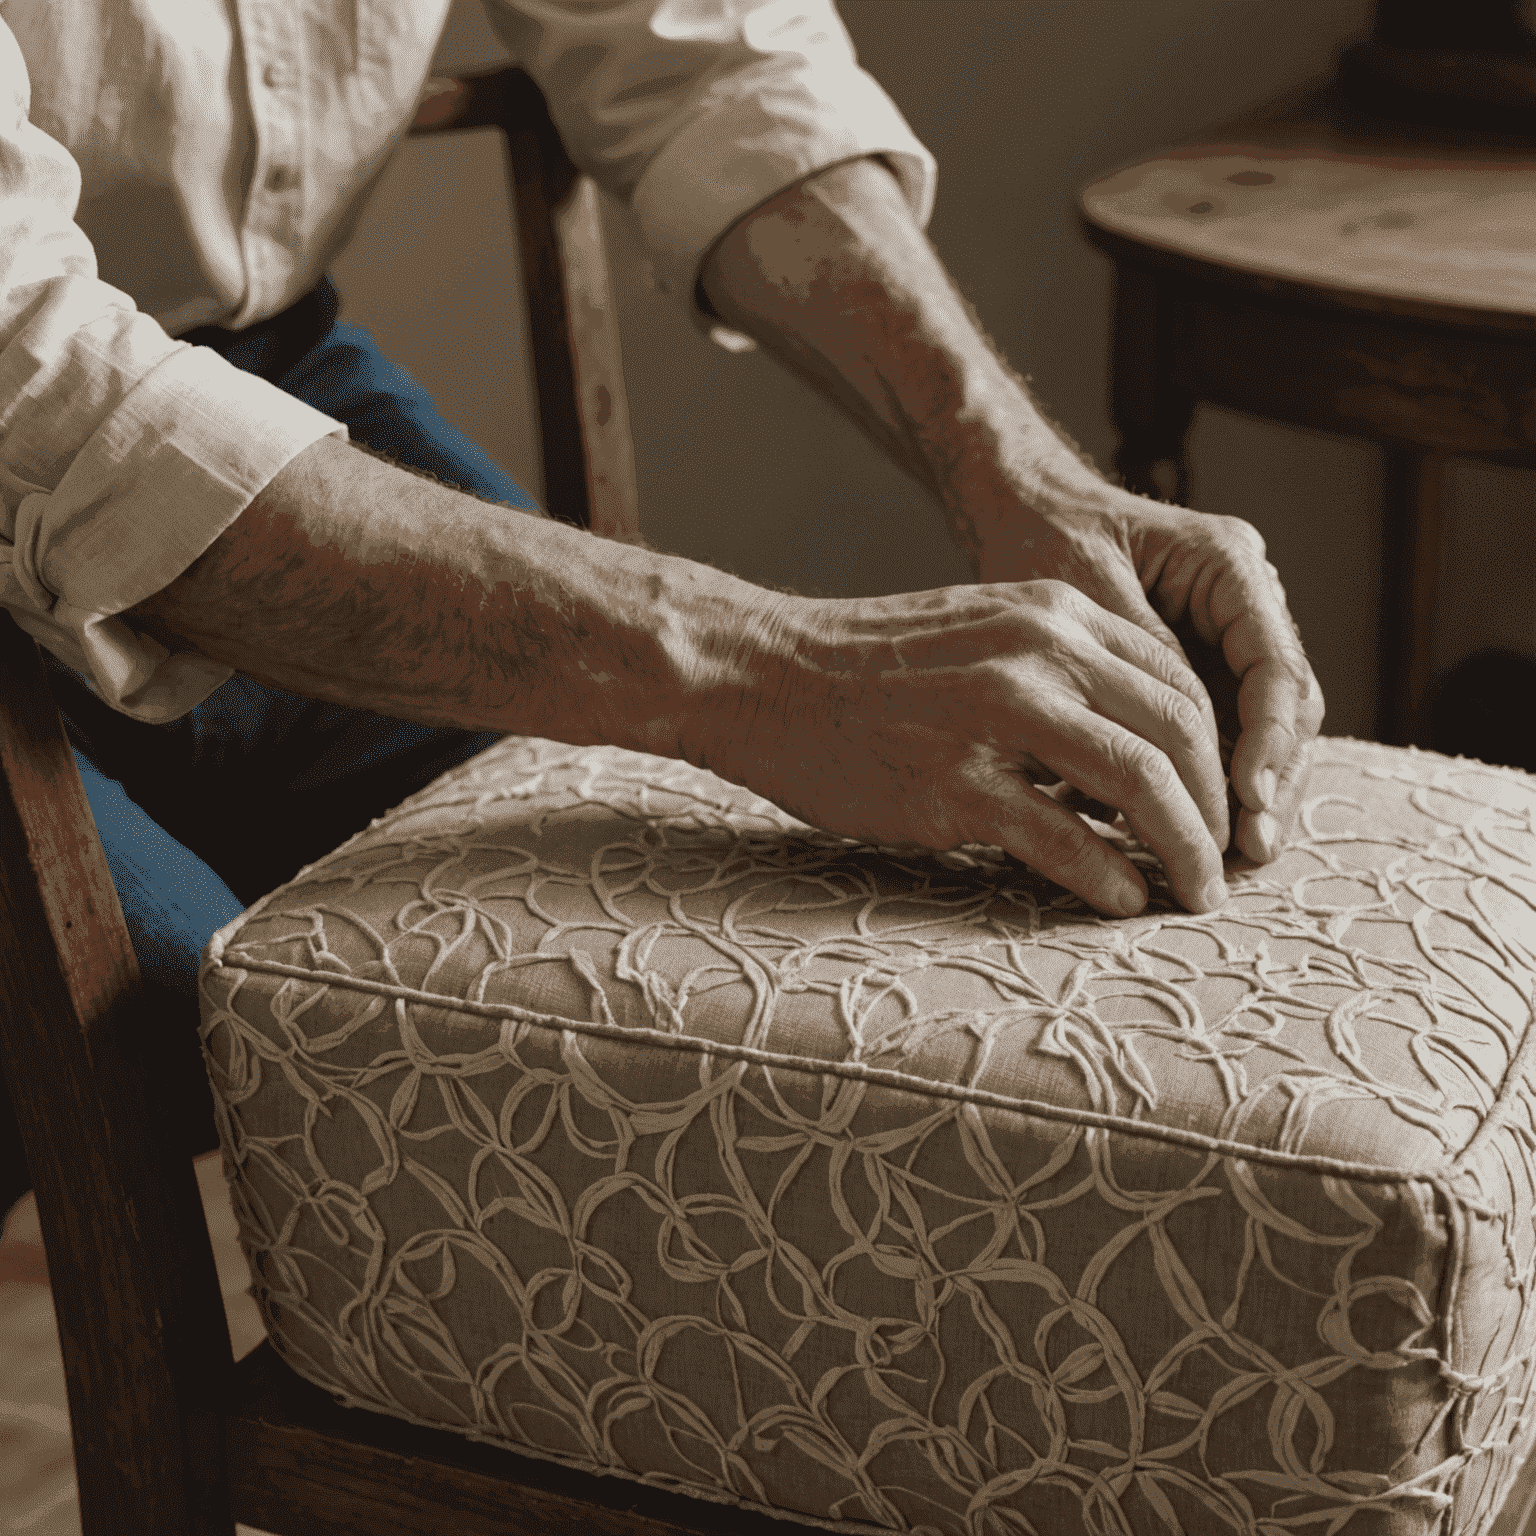
Carefully remove the old fabric, taking note of how it was attached. This will serve as a guide for reattaching the new fabric. Take photos at each stage for reference.

Step 2: Repair and Replace Padding
Inspect the padding and replace if necessary. This is your chance to add extra comfort to your furniture. Use high-density foam for seats and batting for a smooth finish.
Step 3: Cut and Position New Fabric
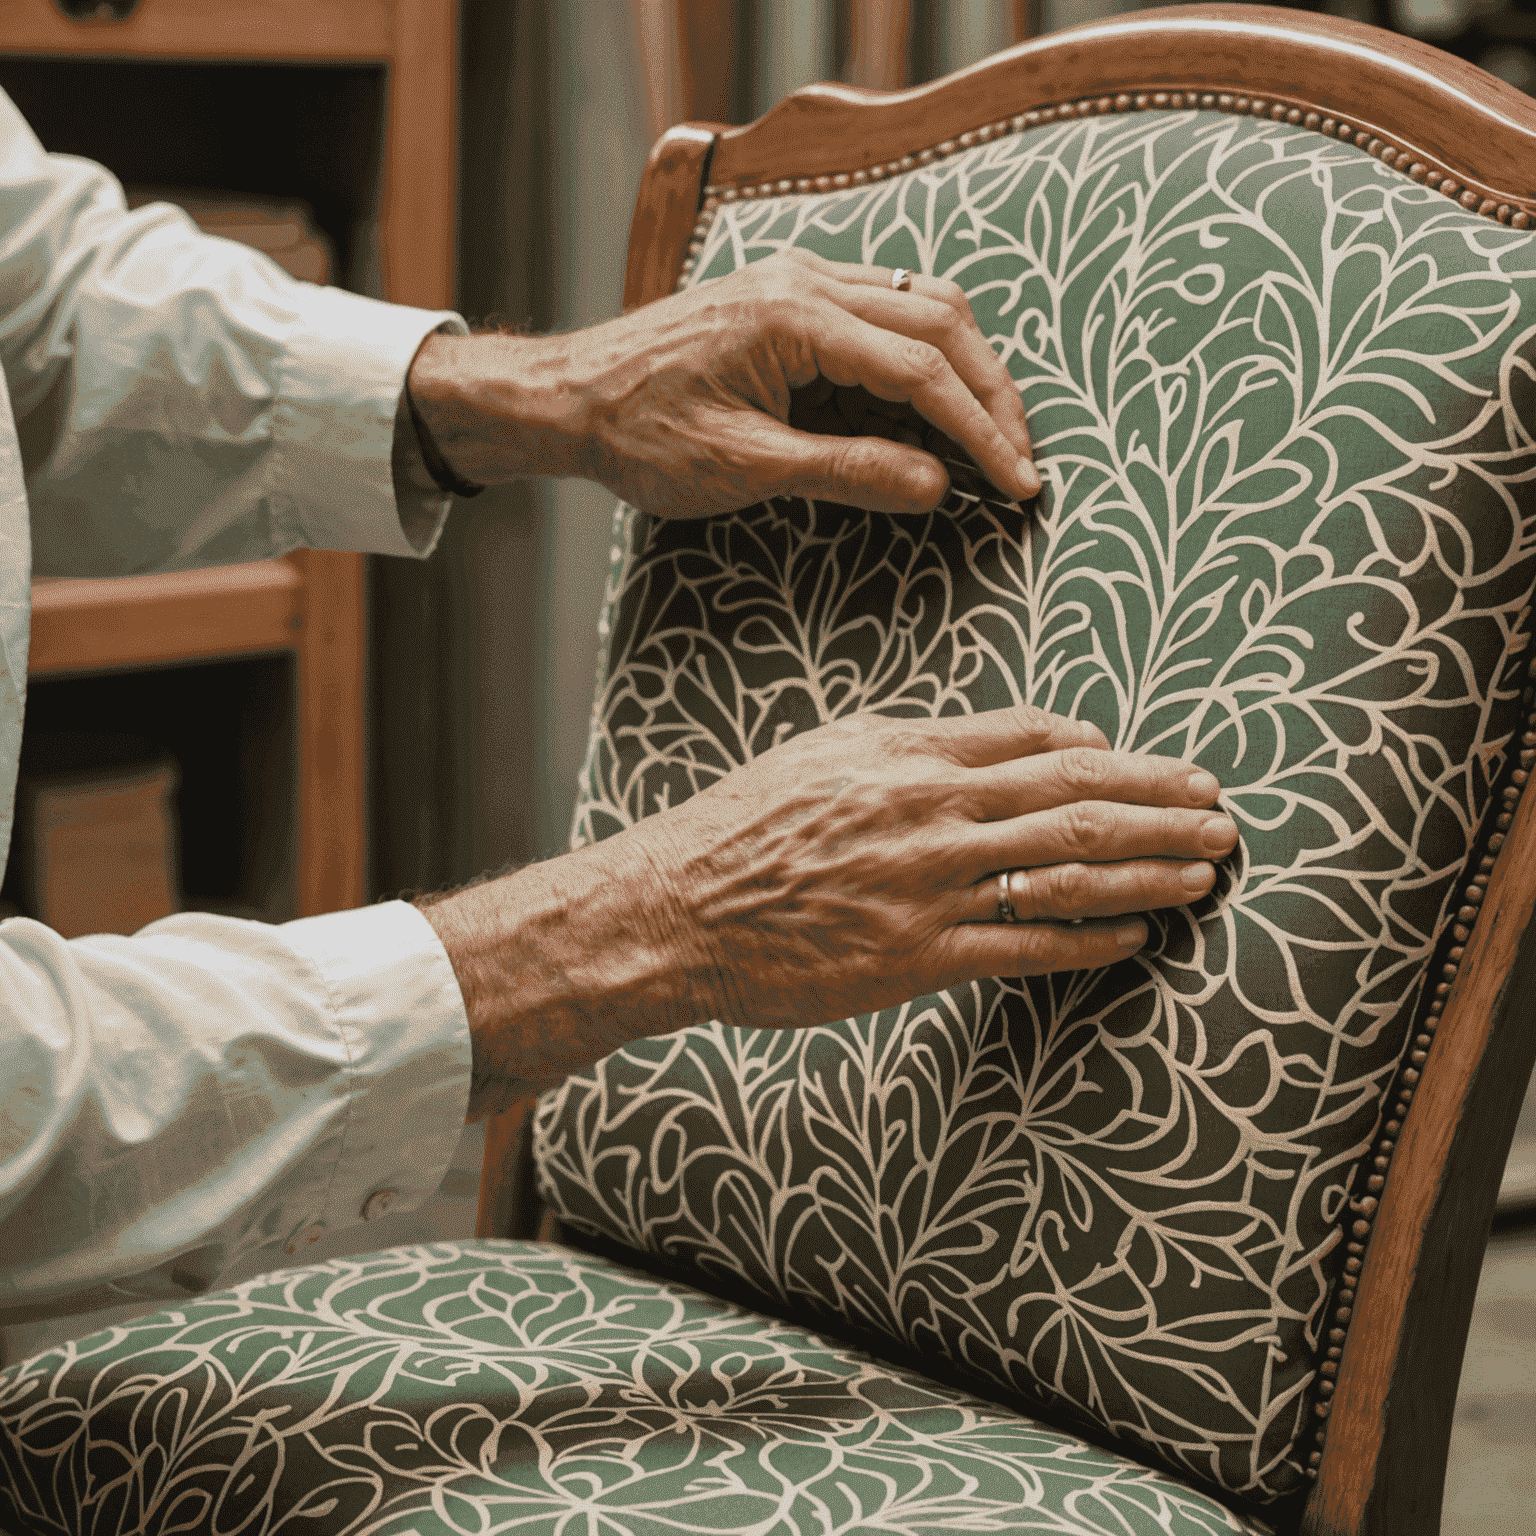
Measure and cut your new fabric, allosecureg extra for wrapping and stapling. Position the fabric, ensuring patterns are aligned correctly.

Step 4: Attach New Fabric
Start by stapling the center of each side, then work your way out, smoothing as you go. Pay extra attention to corners for a professional finish.
Final Touches
Trim excess fabric and reattach any removed components. Step back and admire your handiwork – you've just given your furniture a fresh, custom look!
Pro Tip:
For your first project, start with something simple like a dining chair seat. As you gain confidence, you can tackle more complex pieces.
Remember, practice makes perfect. Don't be discouraged if your first attempt isn't flawless. With each project, you'll enhance your skills and soon be creating custom furniture reupholstery that rivals professional work!